- As a first step, create Descriptor Categories.
- In the main page, click
 to access Settings.
 - Go to Descriptors.
- Scroll to the bottom of the page
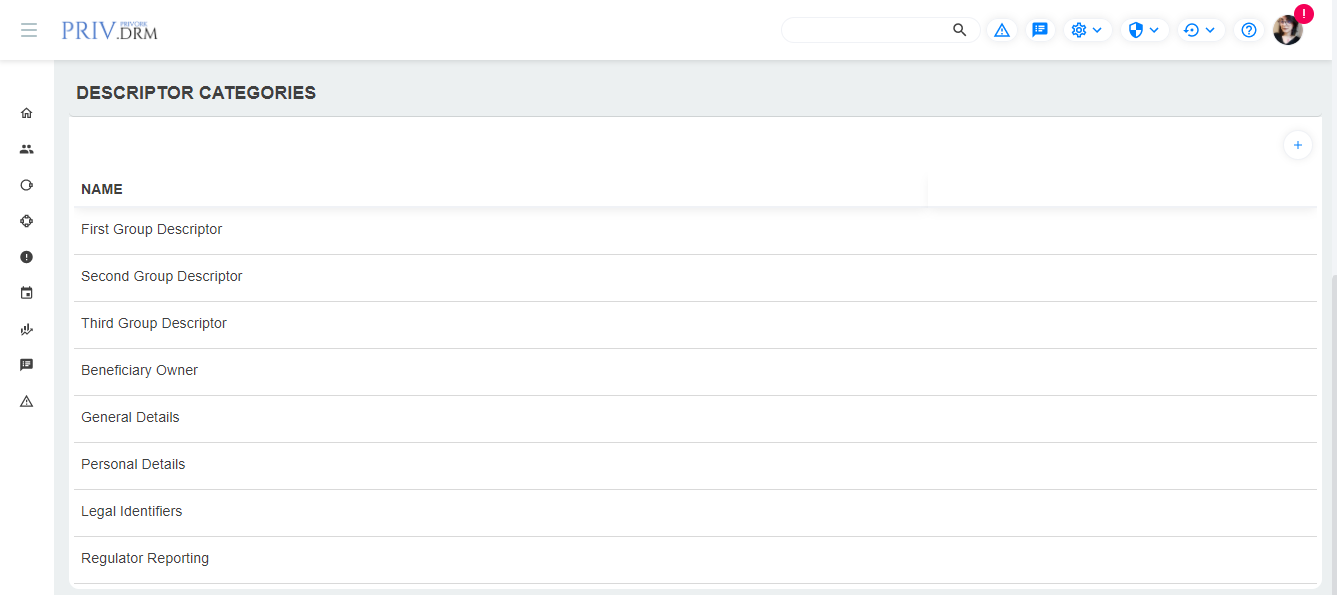
- Click
 to create a new descriptor category then add a name and a description.
 - Click Save and Close.
Contacts
- Navigate to Contacts.
- Click in the top right of the screen.
- In the pop-up window, add
- The Descriptor’s Name: that’s how the descriptor will be displayed under Descriptors in Contacts.
- Choose the Contacts module.
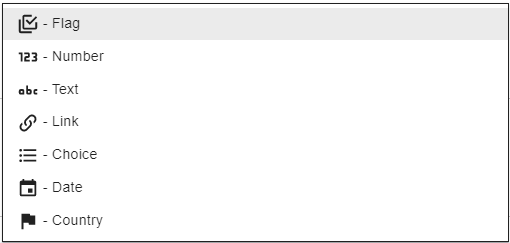
- Choose Type from the list below.
- Choose the category under which you want the Descriptor to show.

- If you chose a Contact Type Specific Descriptor
 , enter the type of contact. This descriptor will only be available for contacts under that type.
 - Add a Description.
- Click Save.
- When a Descriptor is Compliance Associated
 it will be a part of Compliance policies under the Descriptors tab.
Relationships
- Navigate to Relationships.
- Click in the top right of the screen.
- In the pop-up window, add
- The Descriptor’s Name: that’s how the descriptor will be displayed under Descriptors in Relationships.
- Choose the Relationships module.
- Choose Type from the list below.
- Choose the category under which you want the Descriptor to show.
- Add a Description.
- Choose Risk Associated
 , to use the Descriptor in the Risk Decision.
 - Choose Review Associated
 , to add the descriptors to the review checklist.
- Click Save.
- When a Descriptor is Compliance Associated it will be a part of Compliance policies under the Descriptors tab.
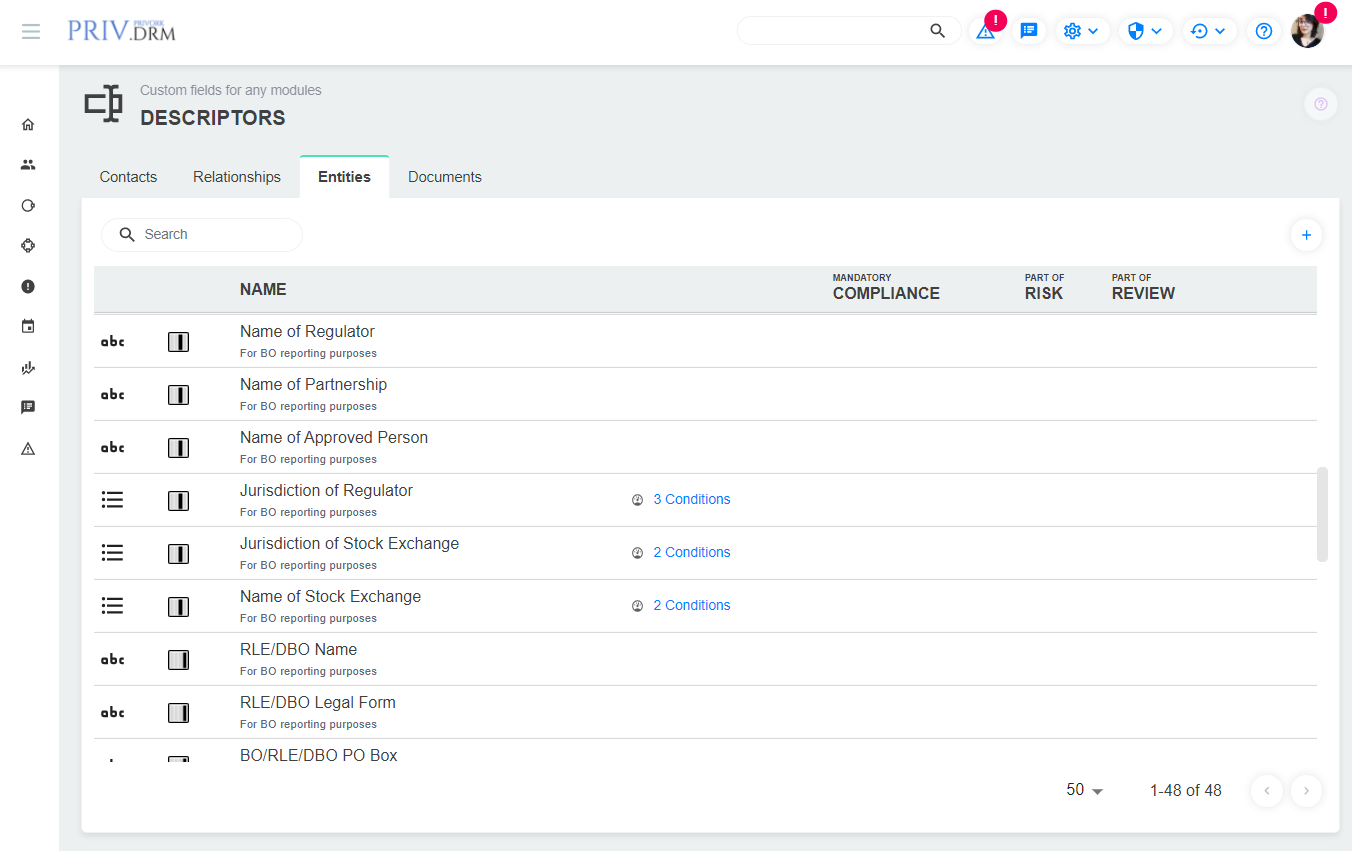
Entities
- Navigate to Entites.
- Click in the top right of the screen.
- In the pop-up window, add
- The Descriptor’s Name: that’s how the descriptor will be displayed under Descriptors in Entities.
- Choose the Entites module.
- Choose Type from the list below.
- Choose the category under which you want the Descriptor to show.
- Add a Description.
- Choose Review Associated , to add the descriptors to the review checklist.
- Click Save.
- When a Descriptor is Compliance Associated it will be a part of Compliance policies under the Descriptors tab.
Organization
- Navigate to Organization.
- Click in the top right of the screen.
- In the pop-up window, add
- The Descriptor’s Name: that’s how the descriptor will be displayed under Descriptors.
- Choose the Organization module.
- Choose Type from the list below.
- Choose the category under which you want the Descriptor to show.
- Add a Description.
- Click Save.
- When a Descriptor is Compliance Associated it will be a part of Compliance policies under the Descriptors tab.
Documents
- Navigate to Documents.
- Click in the top right of the screen.
- In the pop-up window, add
- The Descriptor’s Name: that’s how the descriptor will be displayed under Descriptors.
- Choose the Documents module.
- Choose Type from the list below.
- Choose the category under which you want the Descriptor to show.
- If you chose a Document Type Specific Descriptor
 and enter the type of document. This descriptor will only be available for documents under that type.
 - Add a Description.
- Click Save.
- When a Descriptor is Compliance Associated it will be a part of Compliance policies under the Descriptors tab.